A little off-topic from my usual posts - so if not interested, stay tuned for future content! If you missed part 2, click here.
Every year, I do a bit of decorating for the holidays, as a creative outlet. I’ve found several decent methods for creating nice looking fencing, gravestones, and other decor that aren’t expensive (and can sometimes be made for very cheap).
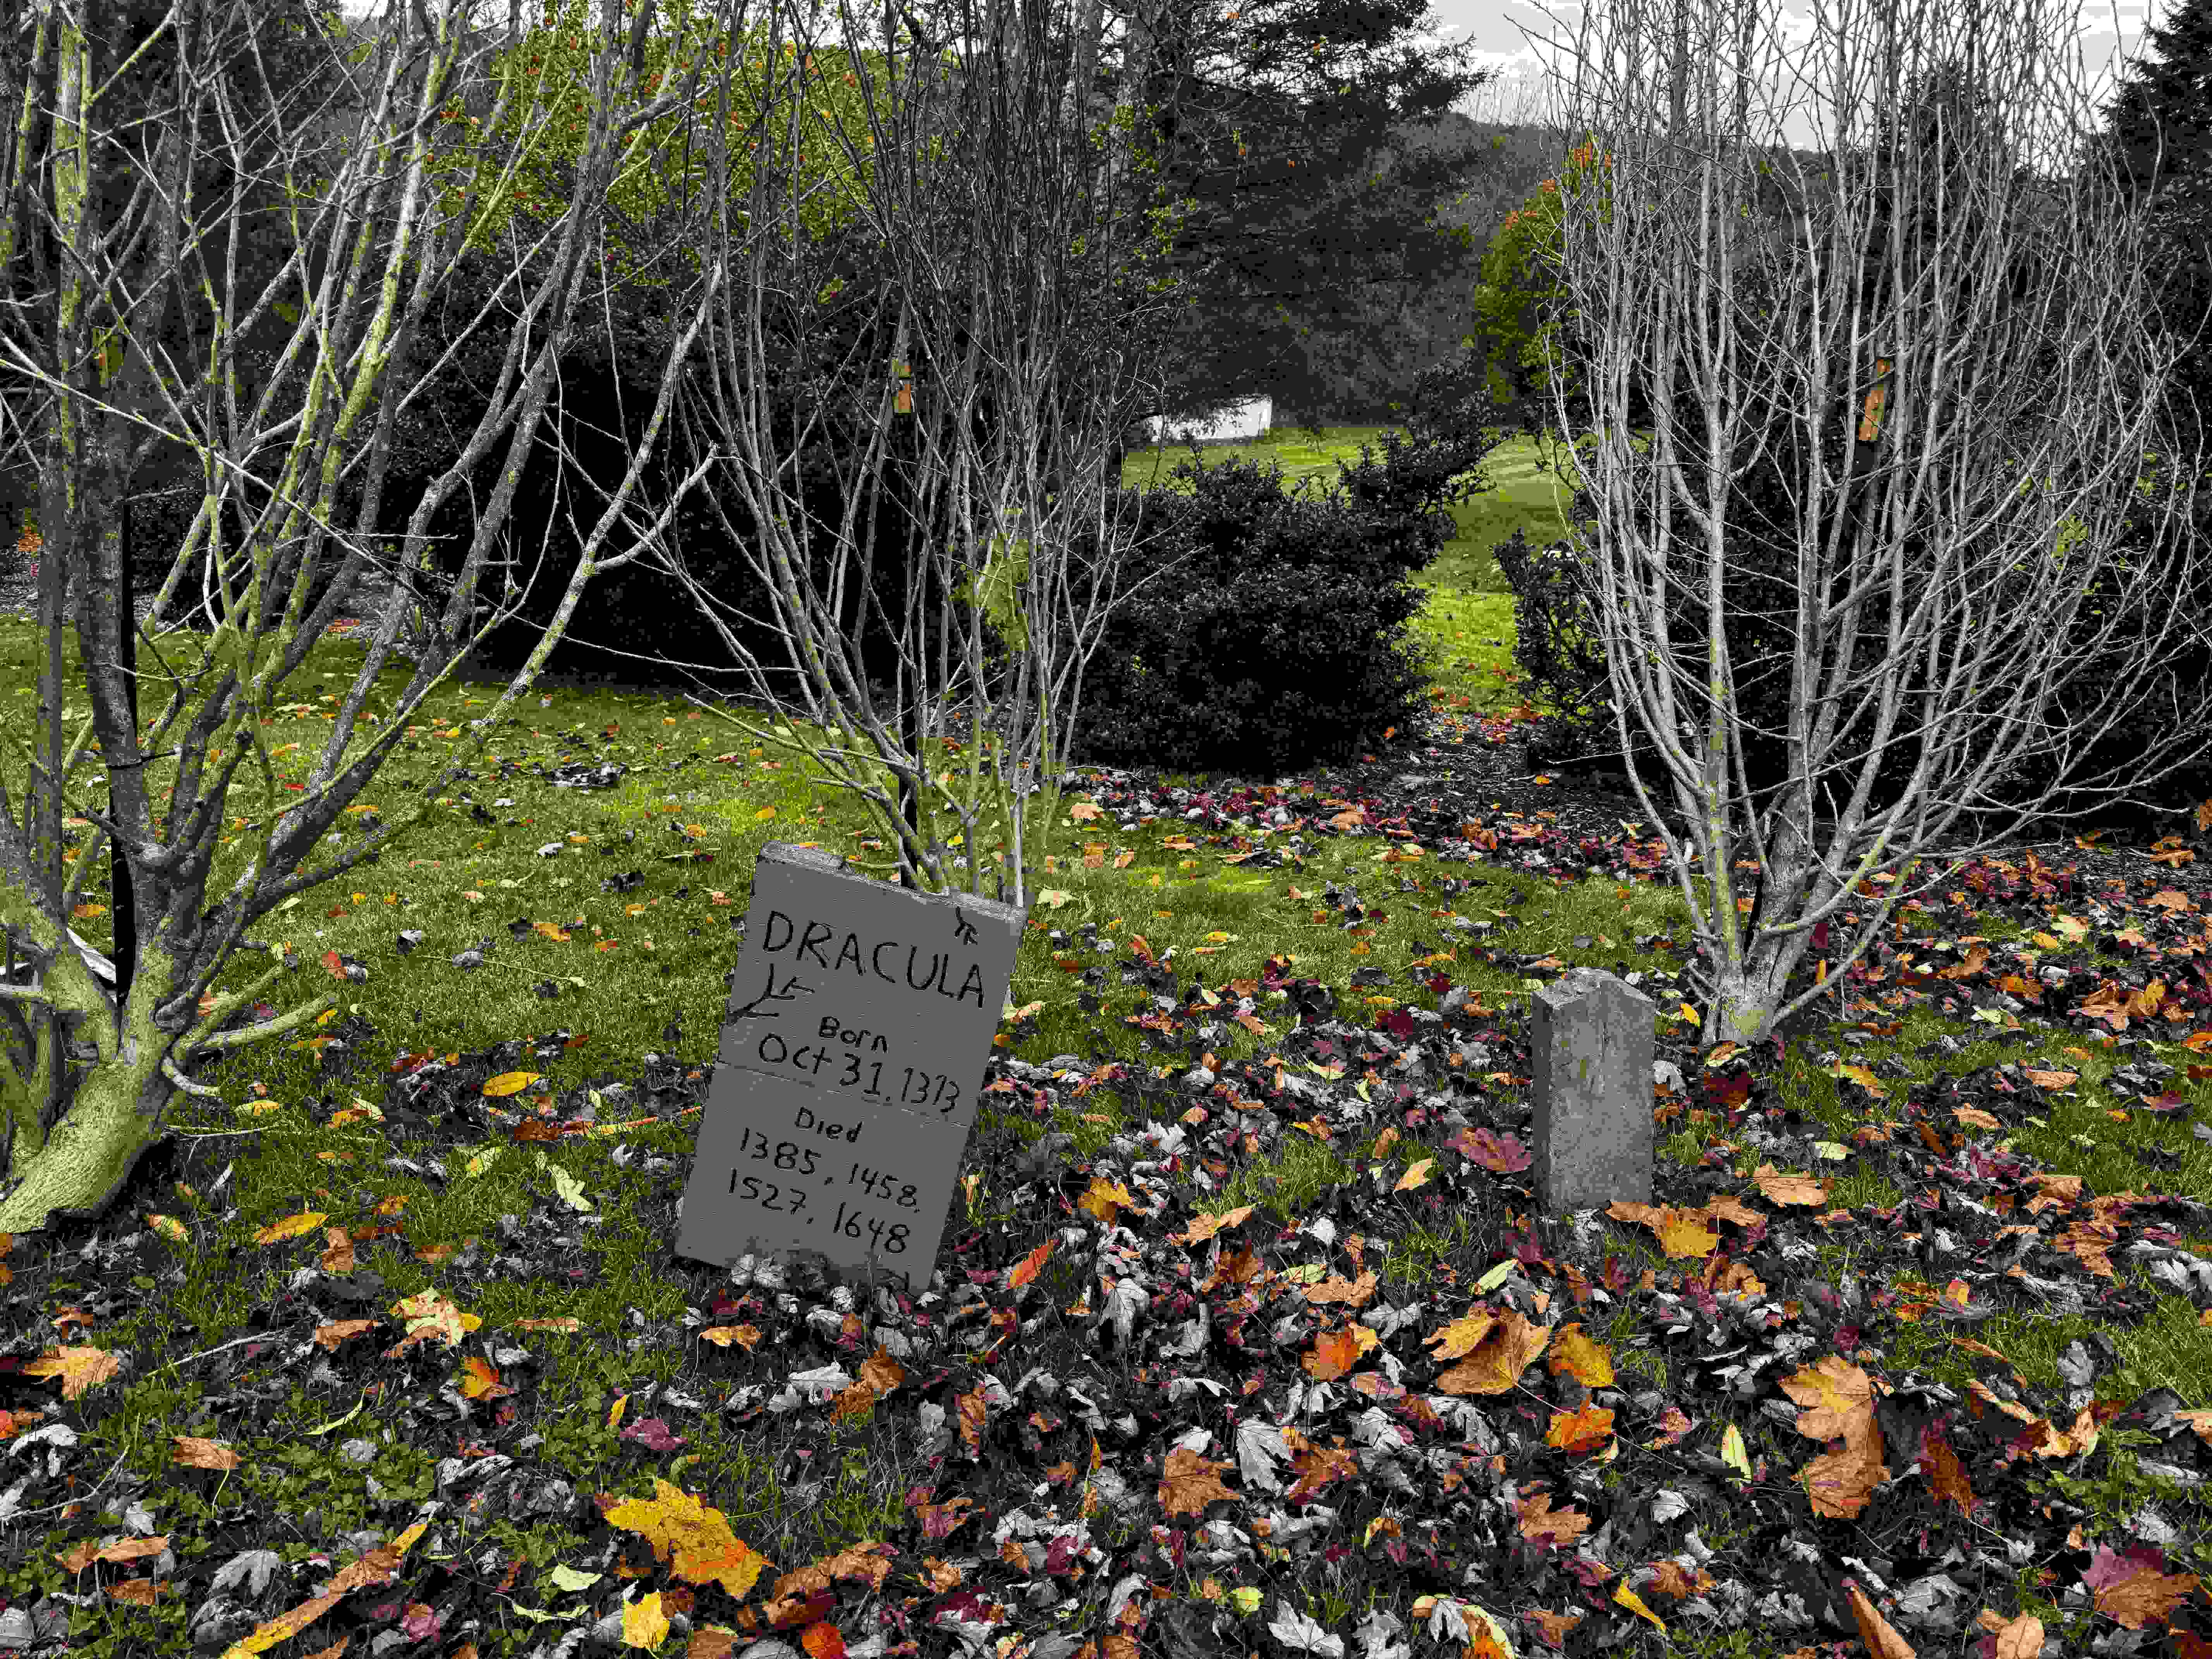
In this post, I’ll describe how I construct fake gravestones for my halloween display from recycled foam.

How I make these
For all of these, I used pieces of polyethylene foam that I received as part of packaging for computer cases, and other packages. It takes hot glue fairly well for assembly (although too hot and it’ll melt the foam).
I have used both black and white foam, which (as you can see below), does impact the final color of the stone. You can also buy decently sized sheets of this foam for not too much on Amazon, but I haven’t needed to do that. I use a combination of these, real pieces of slate, and wood to create some diversity in my display.
To engrave letters, I use an old wood burning / soldering iron. If you get it hot enough, this goes really quickly. You have to play with the temperature a little, as too hot might melt away more than you’d like. A
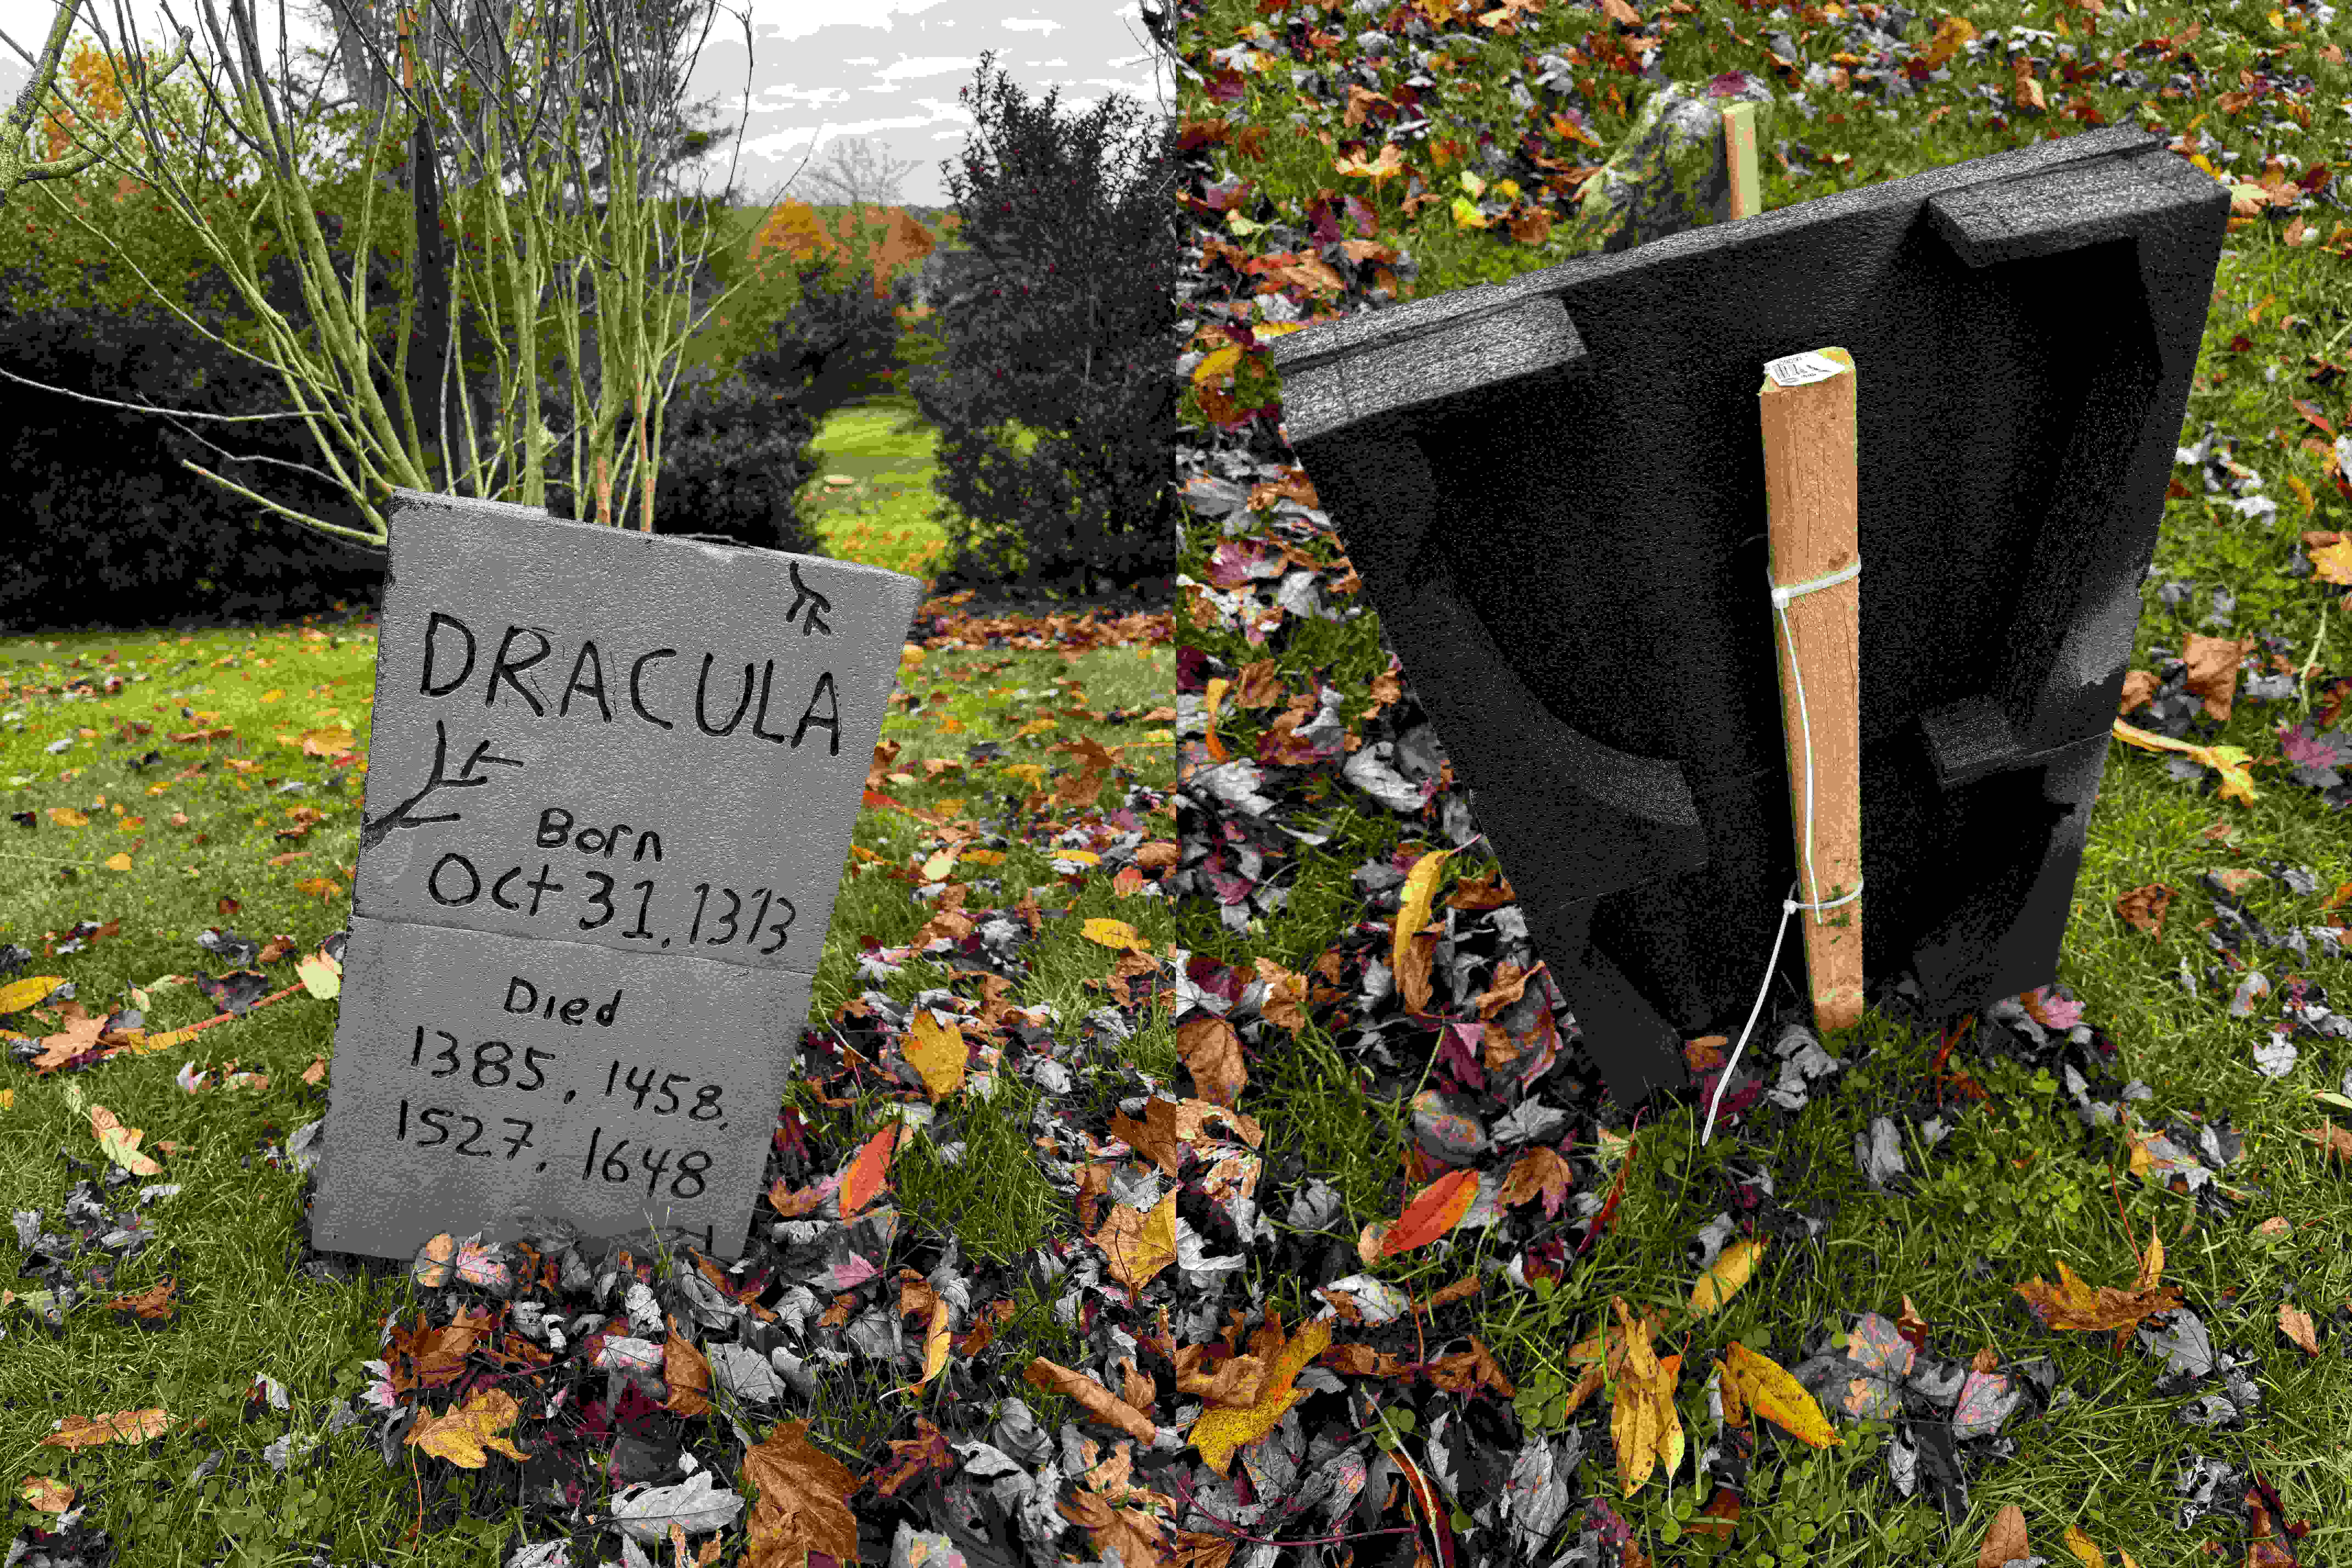
lso, definitely do this outside as the fumes are probably not very good for you. One property I like about the black foam versus the white, is that you can paint it, and then afterwards can just melt away. Doing so reveals the black foam underneath, which makes the letters really pop. For white foam, you need to paint after, so it’s a little harder to see what you’re doing.
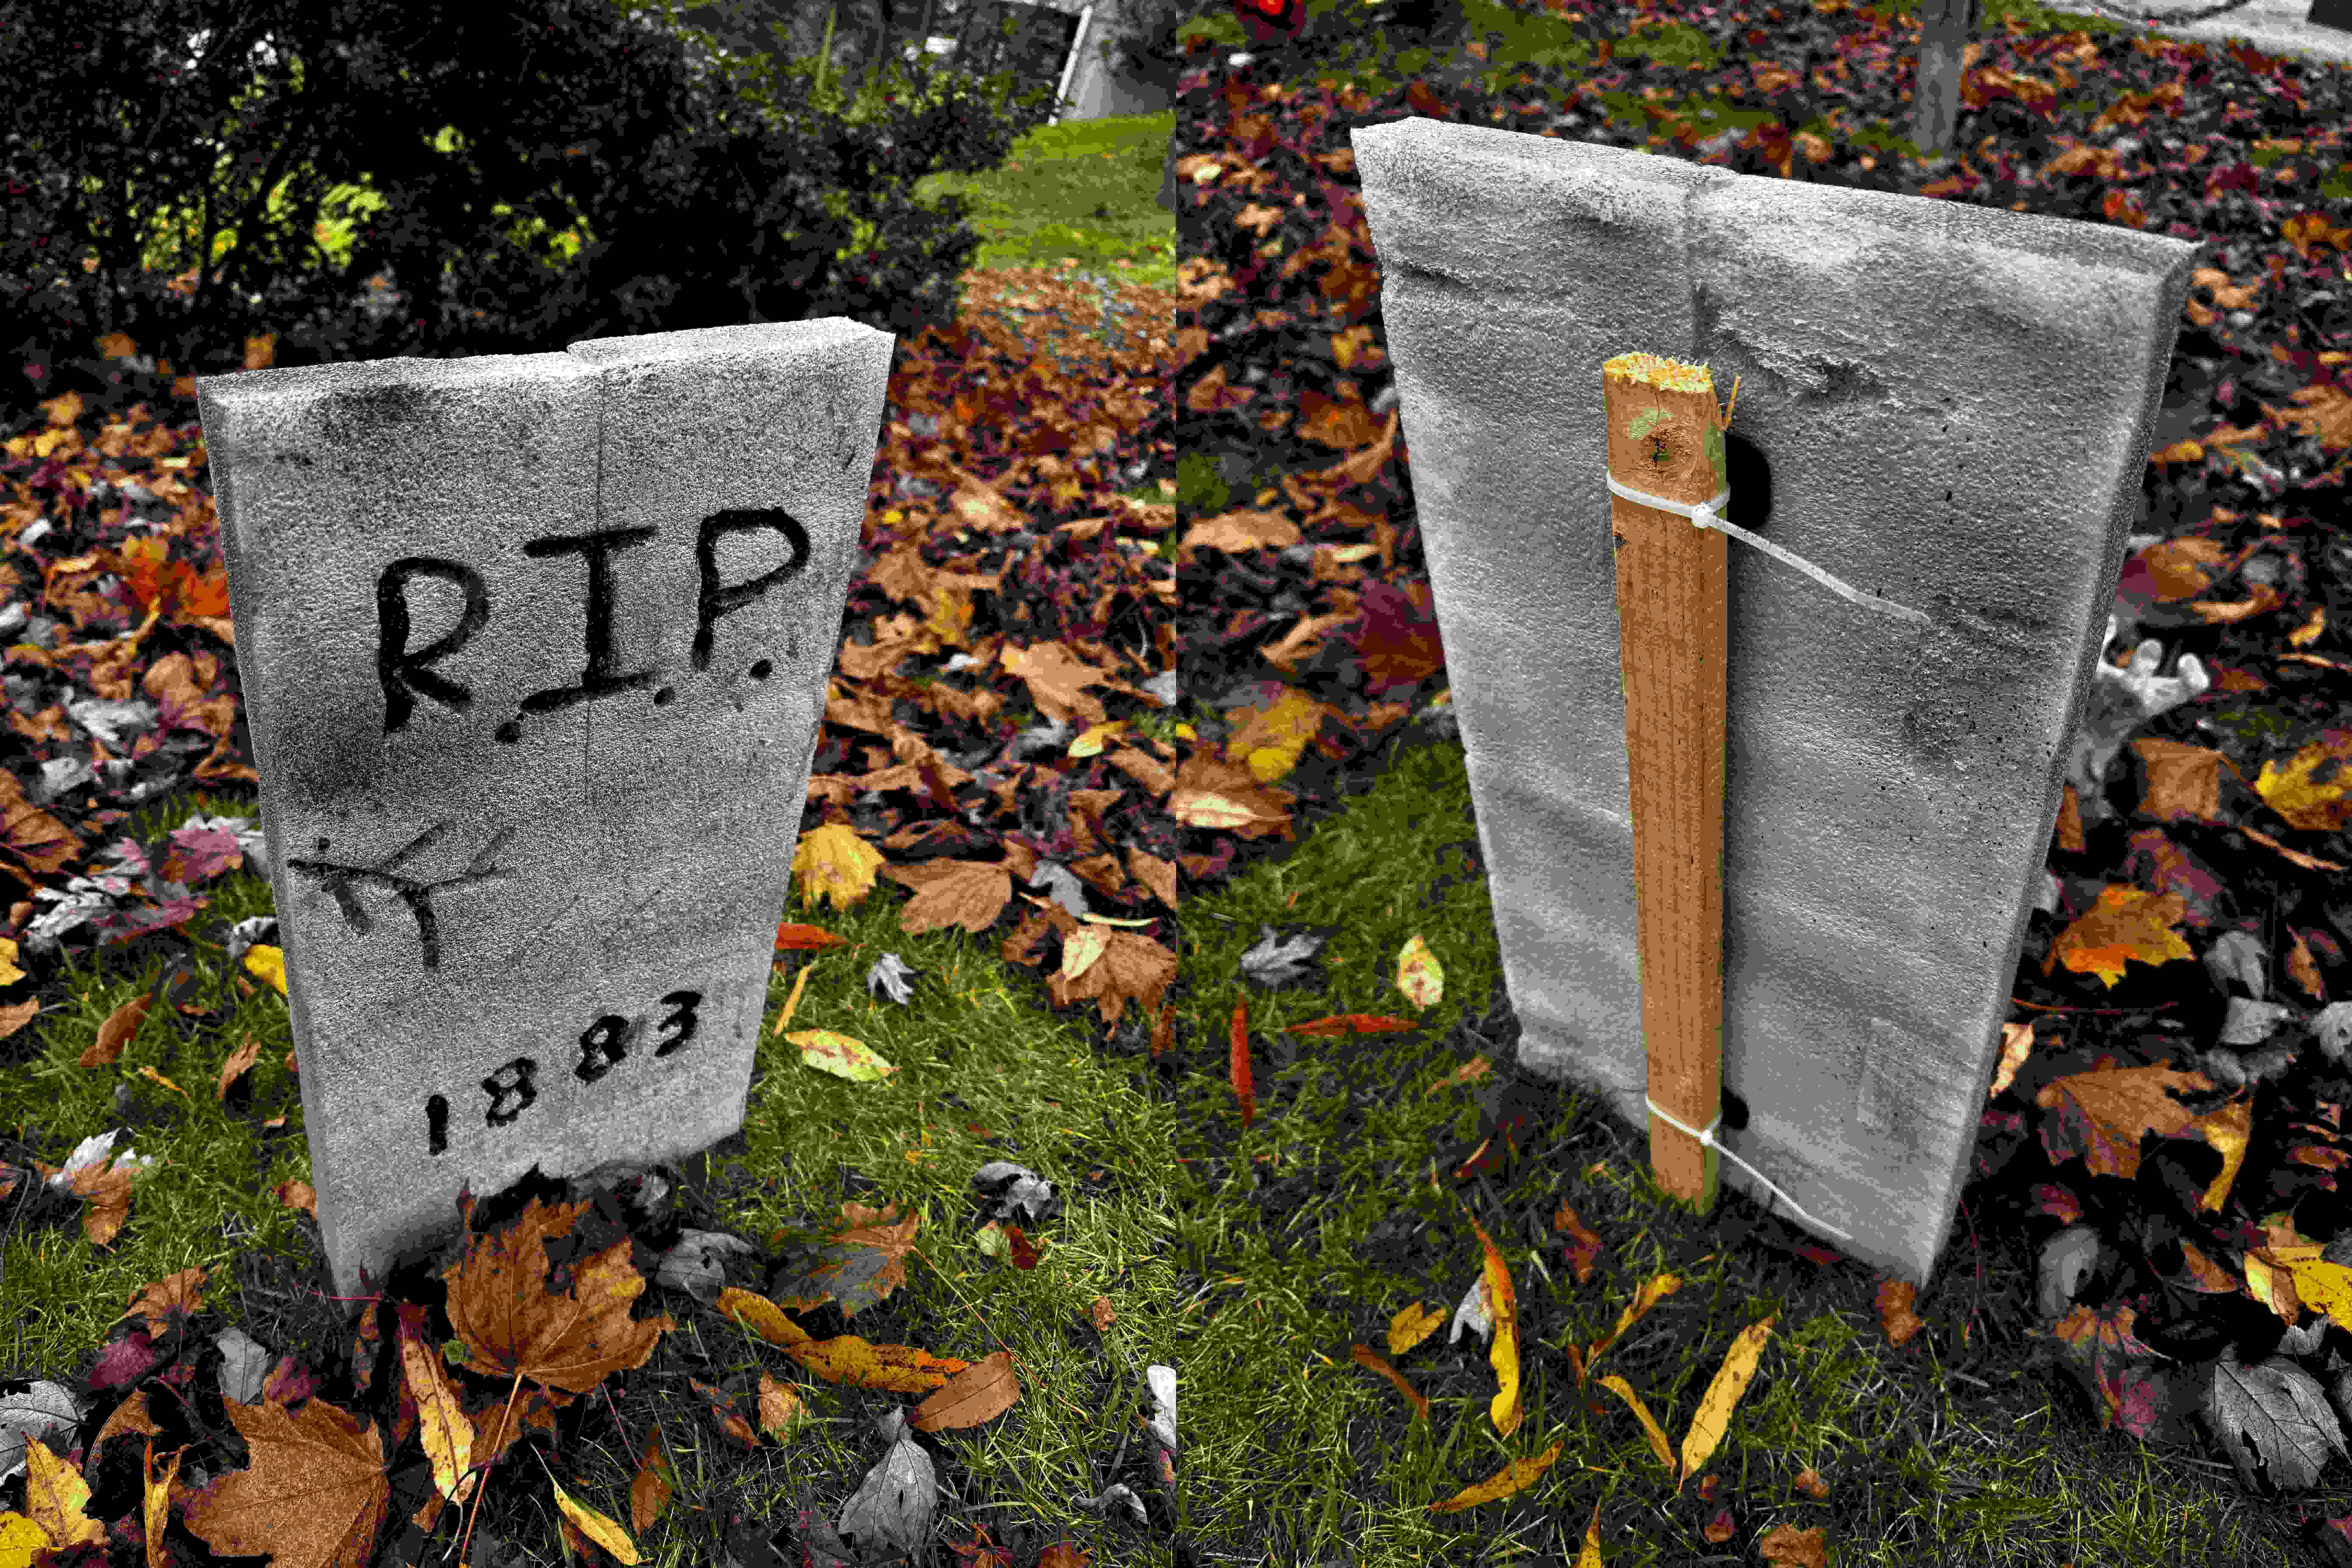
I also hacked together some slim 3d-printable clips, which I use to easily mount these on posts. Being foam - they’re very light, but since they’re not styrofoam they seem to hold up well over time.
This one, I made from two thin strips of foam, glued together vertically:

And this one, horizontally, from the foam that my 3d printer filament dryer came in:


