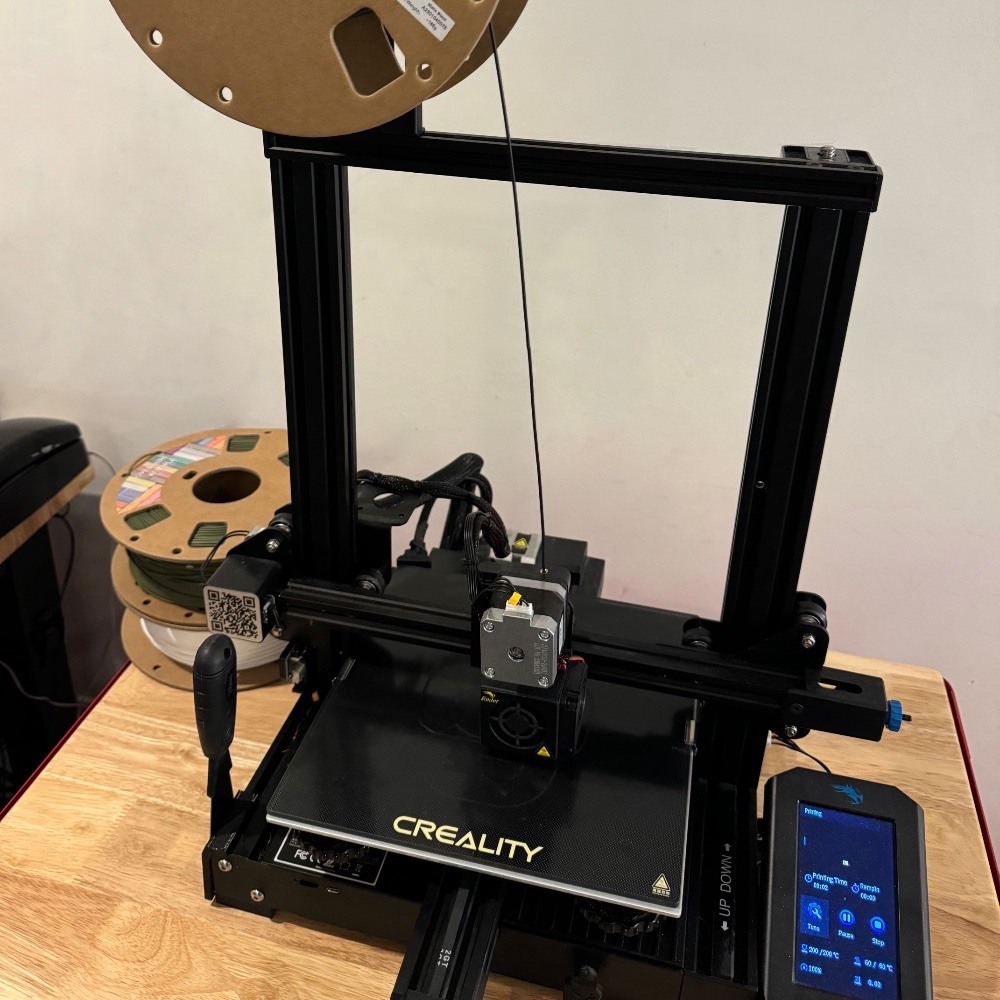
I bought my Ender 3 V2 back in 2020, and out of the box, it works pretty well. The two main areas that are a little lacking on the model I bought are the hotend and the Z-axis. The bowden tube setup on the extruder isn’t nearly as good as direct drive, and the Z-axis is only driven by a single motor, which can lead to some issues with leveling.
This is how the original version looks as purchased:

Upgrades
Disclaimer: You can void your warranty or break your printer by doing these upgrades. I’m not responsible for any damage you cause to your printer. Proceed at your own risk.
Hotend
I ended up replacing the hotend with this Creality hotend. You plug it directly into the motherboard and replace the old hotend entirely. Once doing this, TPU and other flexible filaments work much better. The cooling fan was also getting a little loud on my original, and this one is much quieter.

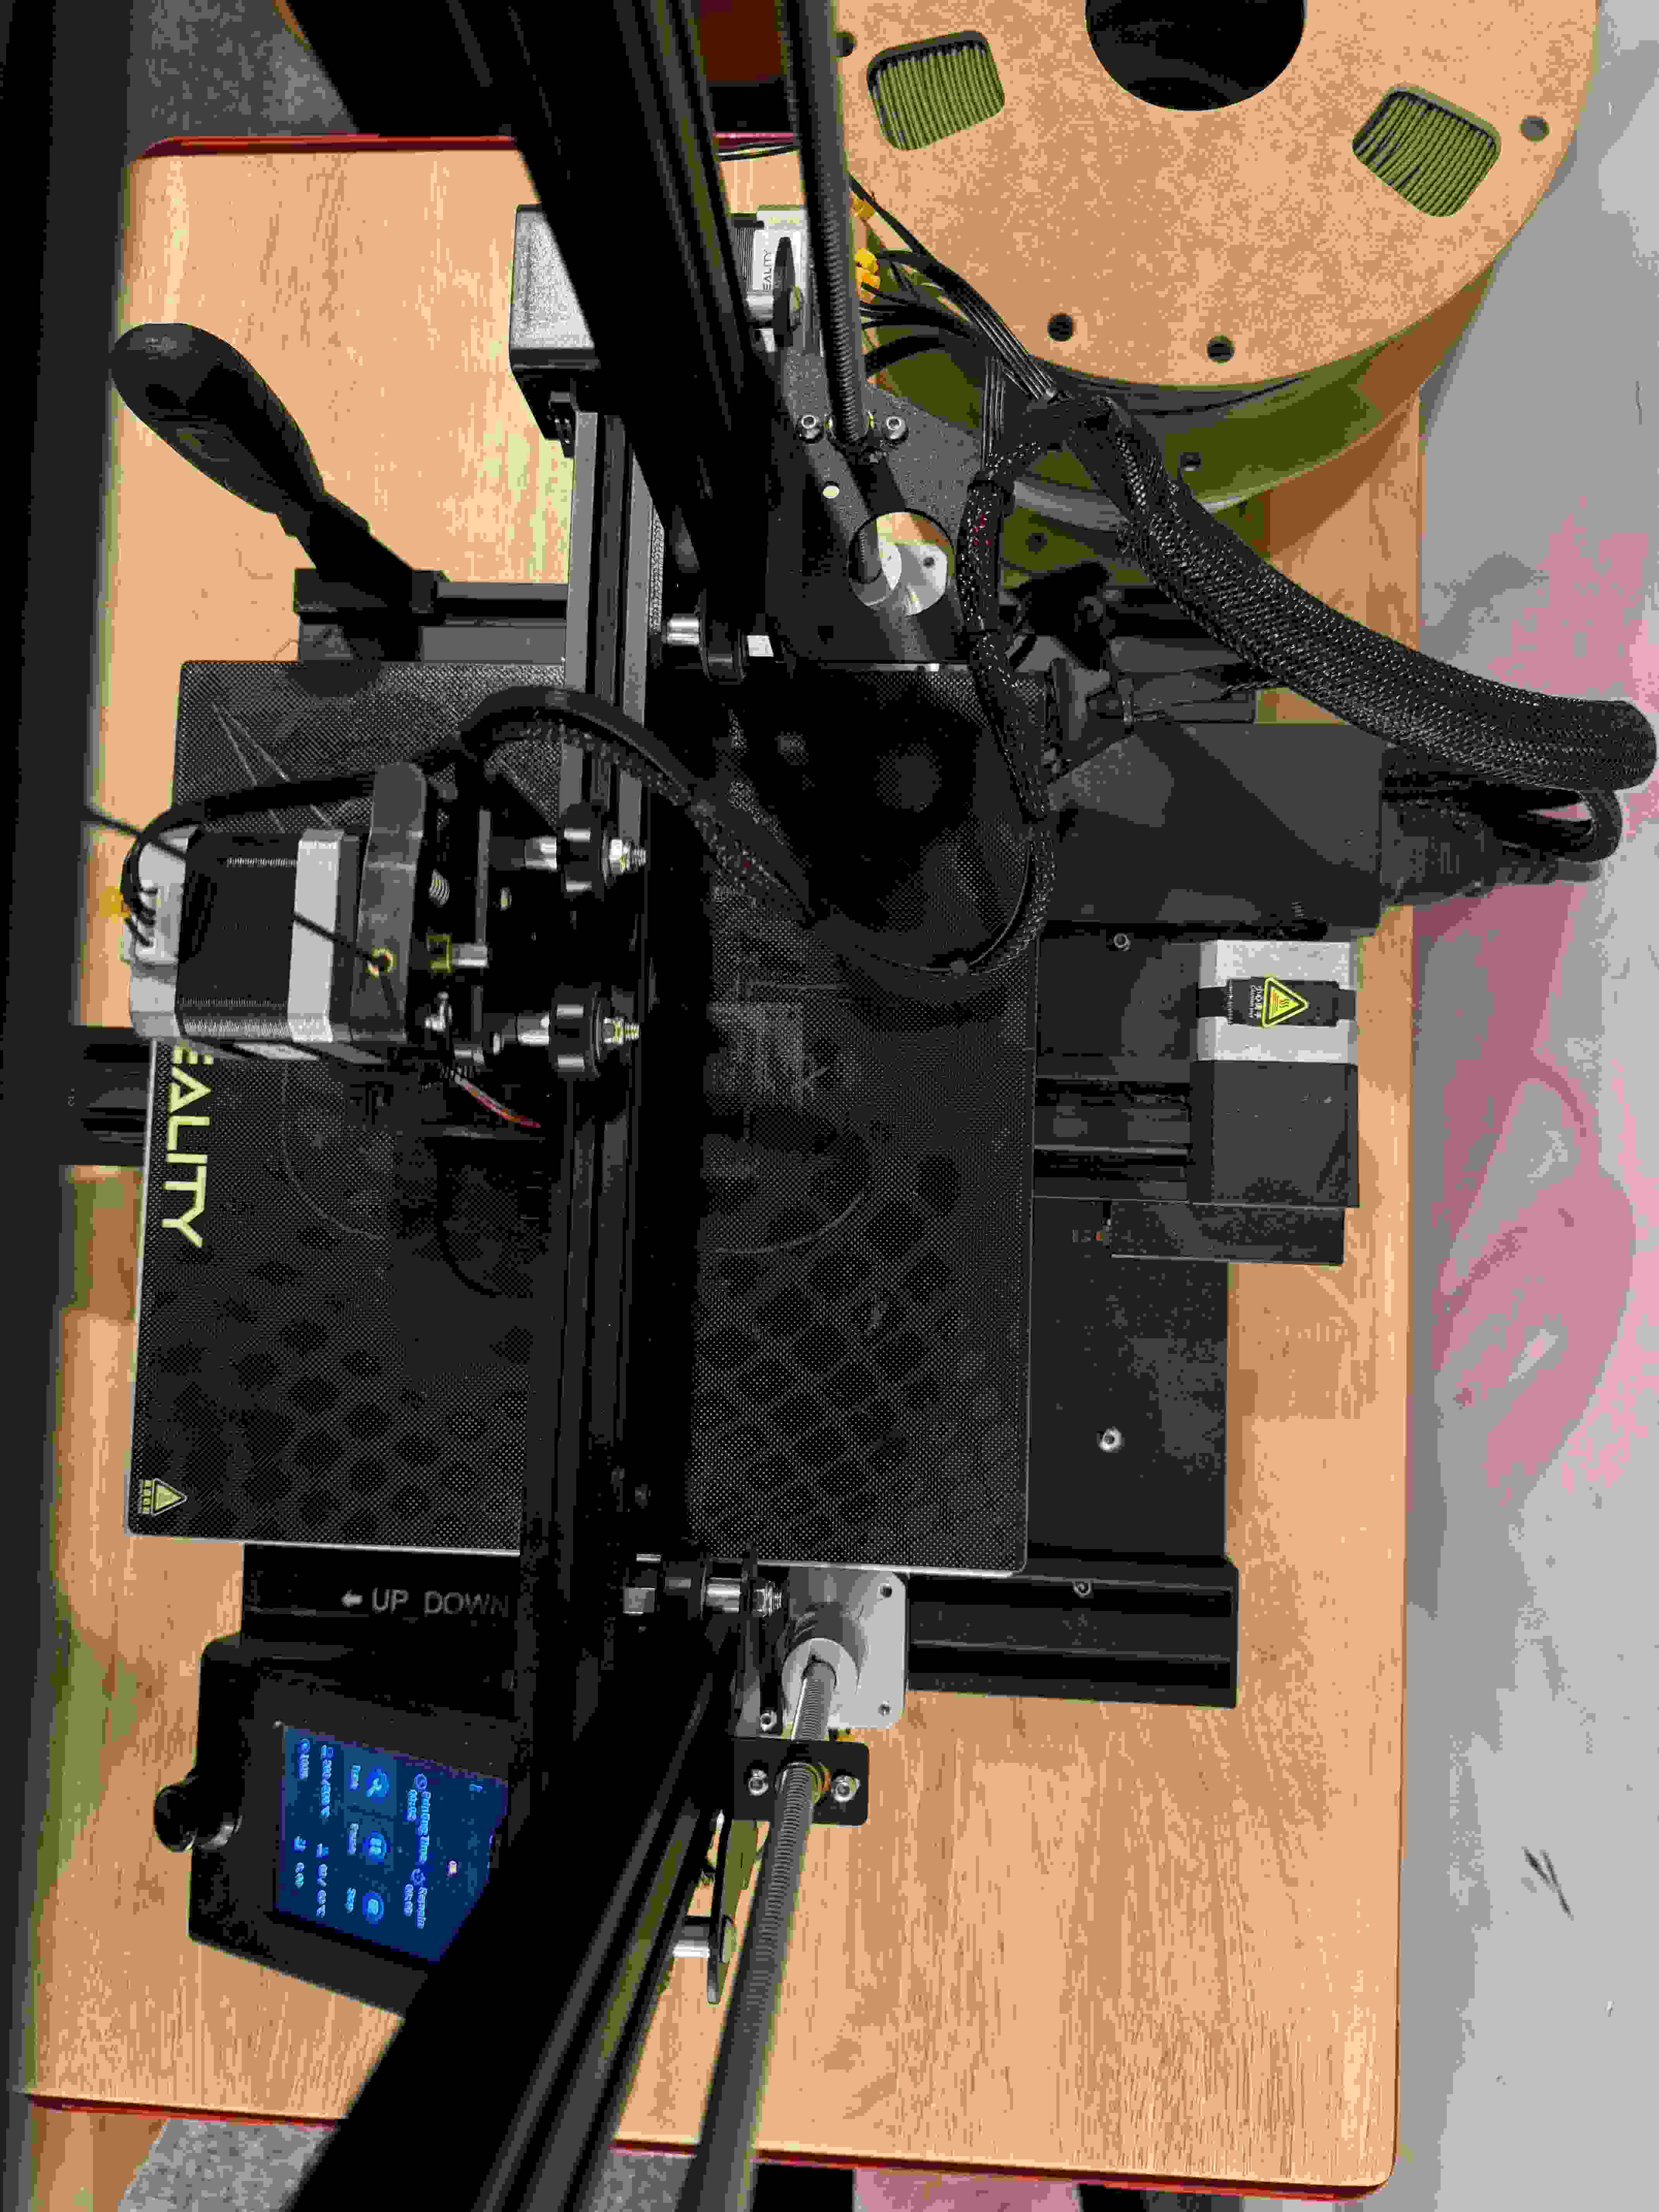
Dual Z-Axis Motors
I installed a second Z-axis motor and lead screw to better support the gantry. It makes leveling much better, and it stays level and is harder to accidentally move out of level. I used this kit.
This made my first few layers much more consistent, and I don’t have to level the bed nearly as often. It’s a great upgrade for the price.
Print Surface
I like the glass print surface that came with it, and I have replaced it a few times as it eventually gets too smooth to hold prints in place effectively. Before each print, I clean it with a little isopropyl alcohol to remove any oils or residue to ensure prints adhere well.
Often, it works too well and I need to use a little force to remove the prints. I’ve found (at least for less delicate prints) that by removing the glass plate, holding it vertical, and forcing it downward against the edge of my work table to tap the print off works well.
Removing tinned wires
I removed the tinned ends from the wires within the printer that were connected to the motherboard, and twisted/re-inserted them. I’ll probably replace them with ferrules at some point (I didn’t have any in stock when this issue was discovered), but this was a quick improvement that made the connections less prone to fire issues
Note: you should be careful when doing this, and be comfortable with the risks of working with electronics. If you’re not sure, it’s probably best to leave it to a professional.
Other Notes
I use OpenSCAD for designing parts, and Slic3r for slicing, with this config. I’ve also been experimenting with other slicers like the Bambu labs slicer.
Results
After printing a 20mm calibration cube, I can see a noticeable improvement in the quality of the prints. Measuring the output with my calipers, the dimensions were within 0.2mm of the target in all directions.
Prior to these upgrades the Z axis especially was having issues moving smoothly, and the output would sometimes be off almost a millimeter.